

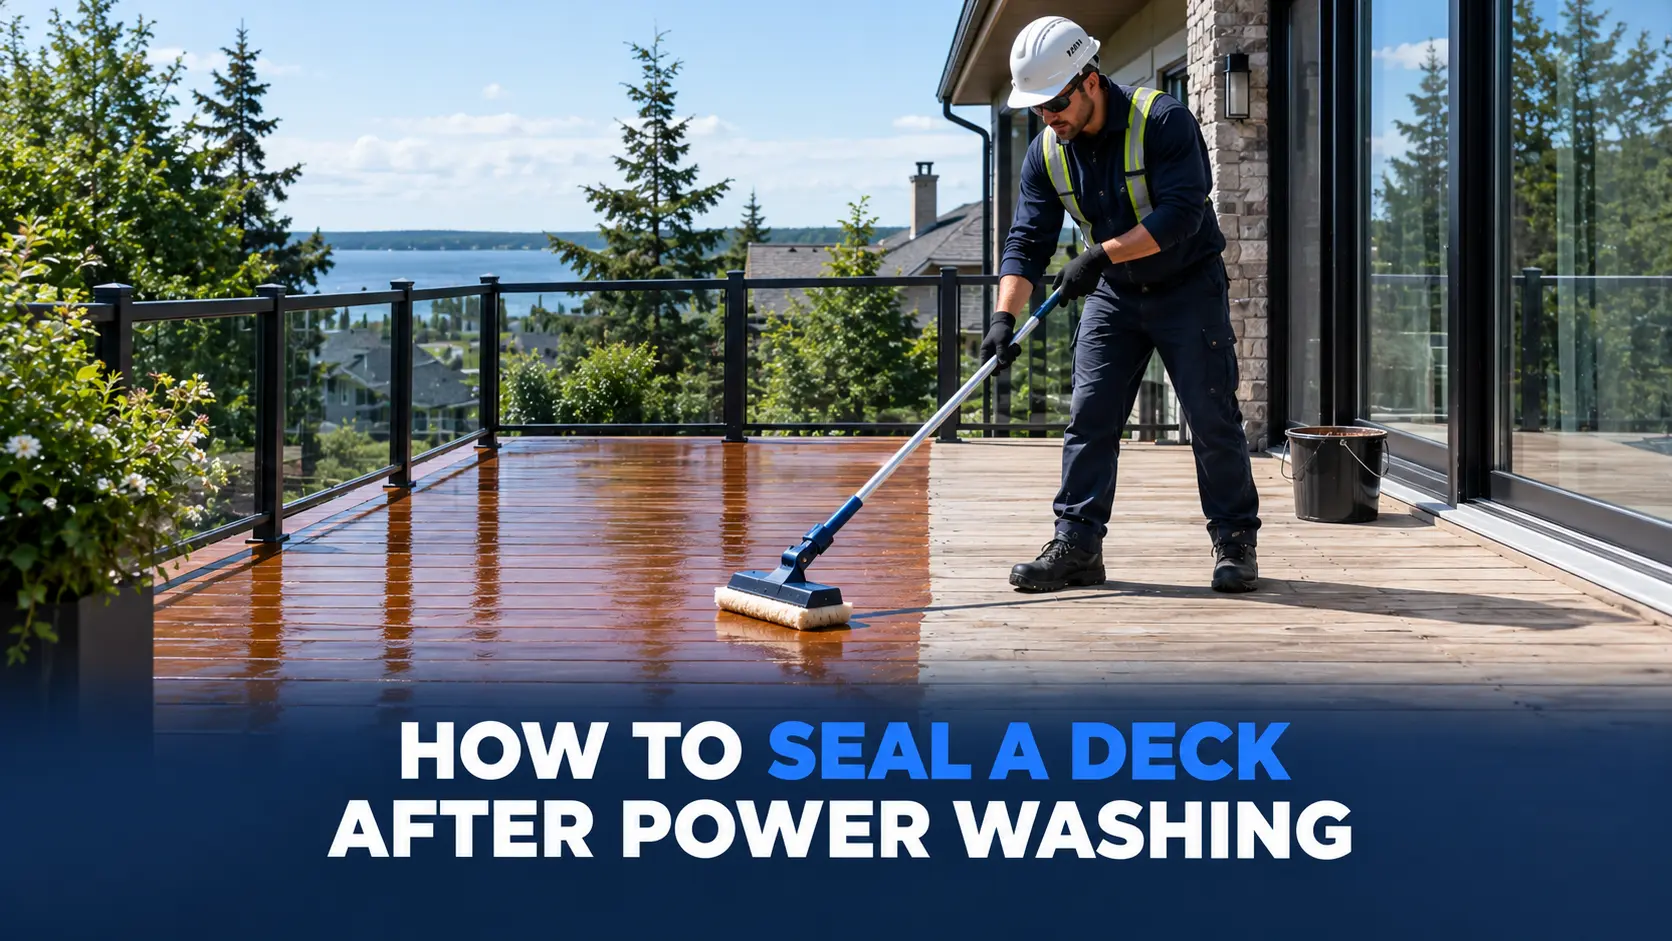
To seal a deck after power washing, let the wood dry for 48 to 72 hours, sand rough spots, clear off the dust, and brush on thin coats of sealer in dry weather above about 10 degrees Celsius. Then keep the deck clear until the sealer cures. This guide walks through each step in order, with tips on tools, weather, and common mistakes for anyone planning power washing in Vaughan.
Why Sealing Matters After You Power Wash
Power washing gets a deck clean. It does not protect it.
In fact, a fresh wash leaves bare, open wood. That wood drinks water, fades in the sun, and welcomes mildew. Sealing is the step that closes the door on all three.
What a Sealer Actually Does
A sealer soaks into the surface and slows water from getting in. Many products also carry UV protection, which keeps boards from turning grey and brittle.
Think of it as a raincoat for the wood. It does not make the deck waterproof forever. It buys time between repairs.
Sealer, Stain, or Both?
People mix these terms up. A clear sealer protects and leaves the natural wood color. A stain adds color, and many stains also seal.
Semi-transparent and solid products bring color. Clear products show the grain. Pick the look you want, then follow that product’s label from start to finish.
Why the Order Matters
Wash first, dry fully, sand, then seal. Skip a step and the finish pays for it later. If you mixed up the order before, the safest fix is to start again from the washing stage.
Step 1: Let the Deck Dry Completely
This is the step people rush. It is also the step that causes most failures.
Wood that looks dry on top can still hold water deep inside. Sealer cannot soak in where water already sits. It traps that moisture instead.
Most guidance puts the safe wait before sealing a power washed deck at 48 to 72 hours, and longer when conditions are cool, humid, or shaded.
The Water Drop Test
Sprinkle a few drops of water on several boards. Include shaded spots and board ends, where moisture hides longest.
If the drops soak in within a minute or two, the wood is ready. If they bead up, either the wood is still damp or old finish remains. Wait, then test again.
When to Wait Longer
Give the deck extra days if it sits in shade, if nights are cold, or if rain showed up after the wash. Dense lumber and heavy washing also slow drying. Our guide on how long to wait before staining a power washed deck covers drying time in more detail.
Step 2: Prep the Surface Before You Seal
A few small jobs before sealing make a big difference in how the finish looks and lasts.
Repair and Tighten First
Walk the deck and look for loose boards, raised nails, and cracked rails. Fix them now. Sealing over damage only hides it for a month or two.
Replace badly rotted boards instead of sealing them. Sealer cannot repair soft, decayed wood.
Lightly Sand Raised Grain
Washing can lift wood fibers and leave a fuzzy feel. A light pass with a sanding pad or fine paper smooths the surface, so the sealer goes on evenly.
Work with the grain. Do not press hard. You want to smooth, not carve.
Remove All Dust and Debris
Sweep the deck, then blow or vacuum the gaps between boards. Wipe the surface with a dry cloth if needed.
Dust under sealer shows up as rough patches once the finish dries.
Check for Old Sealer
If water beads on the surface even after the deck is dry, old sealer may still be there. New product cannot bond to a leftover film.
Strip the old finish if it is peeling or patchy. If it is still even and sound, a deck cleaner and a light wash may be enough. Either way, let the wood dry fully again afterward.
Protect Nearby Surfaces
Cover siding, thresholds, and plants. Tape off edges and posts. Drips are easy to prevent and hard to remove.
Step 3: Check the Weather and Temperature
Weather matters as much as the product. Even a great sealer fails in bad conditions.
Temperature Limits
Most sealers list a minimum application temperature, often around 10 degrees Celsius (50 degrees Fahrenheit). Some also list a maximum.
Most deck sealers call for an application temperature of about 10 degrees Celsius or warmer, and the product label has the final word.
Cold nights matter too. Low temperatures and dew slow curing, even if the afternoon feels warm.
Sun, Wind, and Humidity
Very hot, direct sun makes sealer dry too fast on the surface. That can leave lap marks and weak bonding. Start early, or work in shade.
High humidity slows drying. Light wind helps. Look for a calm, mild, dry day.
Rain After Sealing
Fresh sealer needs time to cure. Rain too soon can streak or wash out the finish.
Many sealer labels call for about 24 hours of dry weather after application, so check a multi day forecast before you start.
Weather in the Greater Toronto Area
Spring and fall swing between damp and dry here. A bright morning can turn into a damp evening in a few hours.
Decks near Hwy 27 and Steeles Ave W in Clairville see the same swings as the rest of the region. That is why timing a seal after power washing Vaughan properties is a weather decision as much as a calendar one.
Step 4: Choose the Right Sealer and Tools
The product and the applicator both affect how smooth the finish looks.
Penetrating Oil or Water Based Sealer
Penetrating oil sealers soak deep and bring out the grain, but they are the least forgiving of damp wood. Water based sealers clean up easily and dry faster, and they tolerate slightly more moisture.
Solid and semi-transparent finishes sit more on the surface and add color. Whatever you choose, read the label for drying time, coverage, and recoat rules.
Brush, Pad, or Roller
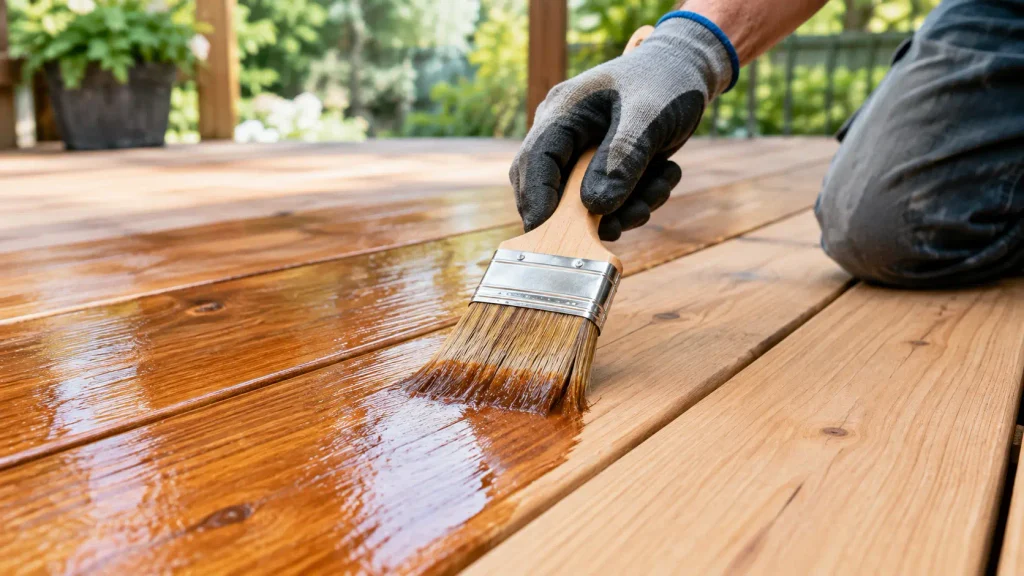
A brush works the sealer into the grain and gets into board gaps. A long-handled pad covers big areas fast and leaves an even coat. A roller is quick, but it usually needs a brush to follow behind.
For most decks, a mix works best. Use a pad or roller for the flat areas and a brush for edges, rails, and gaps.
Protective Gear
Wear gloves, safety glasses, and old clothes. Open products can have strong fumes, so work outdoors and follow the label for ventilation and cleanup.
Step 5: Apply the Sealer in Thin, Even Coats
This is where patience pays off. Thick coats look protective, but they cause most of the problems.
Start With the Railings and Edges
Work from the top down. Do railings, posts, and spindles first, then the deck boards. That way drips land on unsealed wood you will cover next.
Work Board by Board With the Grain
Pick a few boards at a time and finish them from end to end before you stop. Stopping in the middle of a board leaves lap marks once the finish dries.
Keep a wet edge. Overlap each pass slightly while the last pass is still wet.
Back-Brush Pools and Drips
Do not let sealer pool on the surface. Pools dry into sticky, glossy patches that peel later. Brush them out so the product soaks in.
How Many Coats Does a Deck Need?
Often one coat is enough, because the wood only takes so much. Some products call for a second coat, usually while the first is still slightly damp. Others call for a full dry time between coats.
Follow the label. Extra coats on a surface that has stopped absorbing just sit on top and peel.
Step 6: Let the Sealer Cure Before Using the Deck
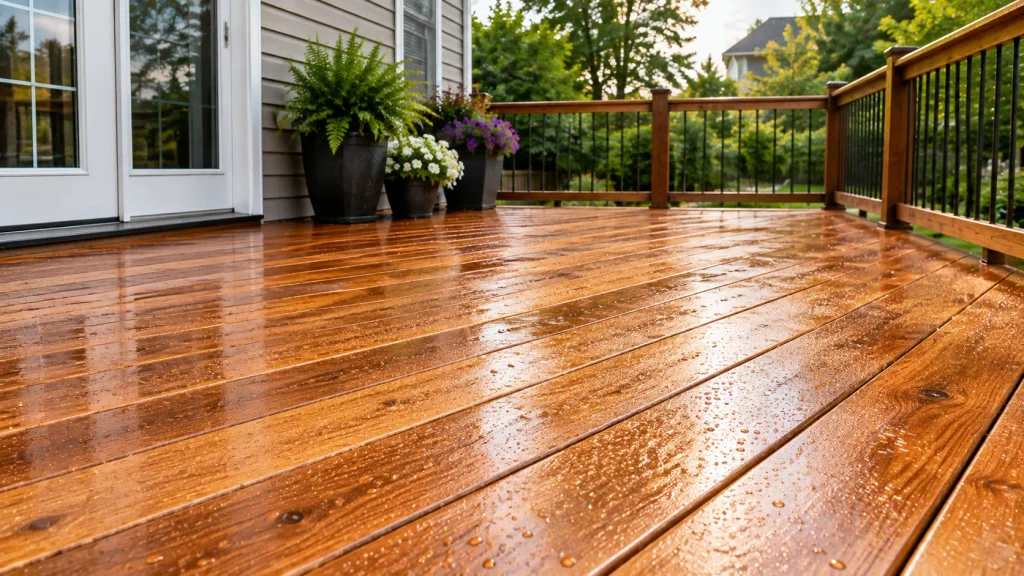
Dry to the touch is not the same as cured. The finish keeps hardening after the surface feels dry.
Foot Traffic and Furniture
Keep people and pets off until the label says the deck is ready, often about 24 to 48 hours. Wait longer before putting furniture and planters back. Heavy items can leave marks in soft sealer.
Protect the Deck From Moisture While It Cures
If rain is coming, cover the area with a breathable tarp raised above the deck, not laid flat on it. Do not let water pool on fresh sealer.
Common Mistakes When Sealing a Power Washed Deck
These come up again and again.
Sealing While the Wood Is Still Damp
It looks dry, so people go ahead. The inside says otherwise. Damp wood is the quickest route to peeling, haze, and mildew under the finish.
Applying Thick Coats
More product does not mean more protection. Thick coats dry unevenly and peel. Thin coats soak in and last longer.
Skipping the Sanding and Cleanup
Dust, fuzzy fibers, and leftover cleaner all show up under a clear finish. A few extra minutes on prep saves hours of fixing later.
Ignoring the Label
Every product has its own rules for temperature, spread rate, recoat time, and cure time. Manufacturer instructions outrank any general guide, including this one.
What If You Sealed Too Early?
If the finish looks blotchy or tacky within a day or two, stop adding coats. A second coat over damp wood only traps more water.
Let the deck dry for several days of good weather. Light problems may only need a gentle sanding and a thin touch up. Bigger problems usually mean stripping the finish and washing the deck again.
Special Cases Worth Knowing Before You Start
Not every deck follows the same script. A few situations change the plan.
Brand New Pressure Treated Lumber
New pressure treated boards often hold a lot of moisture from the treatment process. Sealing too early traps that water inside.
Many product labels suggest waiting several weeks, and some suggest longer. Check both the lumber tag and the sealer label. When they disagree, the longer wait is usually the safer one.
Composite and Vinyl Decking
Composite and vinyl boards do not need sealer. Do not apply wood sealer to them, because it will not soak in and can leave a sticky film.
They still collect dirt, pollen, and mildew. A gentle wash, kept at a sensible pressure, handles that. Always check the maker’s care guide first.
Older, Weathered Wood
Grey, rough boards drink sealer fast. Expect to use more product, and sand a little more to smooth the surface.
Very old or soft boards may need repair before any finish goes on. A sealer cannot fix structural problems.
Decks in Shade or Under Cover
Shaded decks stay damp longer and grow mildew sooner. Wait longer before sealing, and consider a product with mildew resistance. Trimming back branches can help the deck dry between rains.
Keeping a Sealed Deck in Good Shape Between Coats
A little regular care stretches the time between big jobs.
Sweep leaves and debris often, because wet leaves hold moisture against the boards. Wipe up spills quickly. Use furniture pads and planter saucers so water does not sit under pots.
A gentle rinse and a soft brush a couple of times a season keep dirt from building up. Skip harsh scrubbing, since it can wear down the finish faster.
Check the deck each spring. If water has stopped beading in high traffic spots, those areas may need a touch up before the whole deck does.
How Often Should a Deck Be Washed and Sealed
Most decks follow a yearly rhythm, with sealer renewed on a schedule that depends on sun, foot traffic, and product.
A simple signal helps. When water stops beading on the surface and starts soaking in, the sealer has worn thin. That is your cue.
Commercial and Residential Decks: Do the Same Steps Apply?
Yes. Wood does not care who owns it.
Condo terraces, townhouse complexes, restaurant patios, and boardwalk style paths all use the same wood and face the same weather. They also see more foot traffic, and closing an area during a long dry time costs more, so planning the schedule matters. Homeowners face the same steps. The only difference is scale.
Why Safety Comes First on Raised Decks
Elevated decks and terraces mean working at height. Anyone doing that work should have proper training, fall protection, and full liability insurance. Crews at Andean High Rise Window Cleaning are Working at Heights certified and WSIB (Workplace Safety and Insurance Board) compliant on every job.
Getting the Wash Right Before You Seal
How a deck is washed affects how well it seals. Too much pressure or the wrong method can fray the wood and push in extra water. If you want to compare methods, our guide on pressure washing vs power washing explains how each one treats different surfaces.
For larger properties with several surfaces, a commercial pressure washing assessment can map out which areas need which method, so the wash and the sealing schedule stay in step.
Andean High Rise Window Cleaning Serving the Clairville Community and Beyond in Vaughan
Properties near Royal Crest Park deal with the same seasonal swings as every other part of the region. Decks and terraces along the Hwy 27 and Steeles Ave W corridor see added road dust and traffic grime, which makes a proper clean before sealing even more useful. Our crews work throughout Clairville and the wider Vaughan area, from coordinates near 43.7550548, -79.6153175 out to every commercial and residential property that needs a clear assessment.
Get Power Washing Clairville Service Now
Our High-Rise Window Cleaning Coverage in Clairville & Surrounding GTA
Sealing a deck after power washing comes down to six steps: dry it, prep it, check the weather, choose the right product, apply thin coats, and let it cure.
None of them are hard. All of them take patience. Skip the drying or the prep, and you will likely repeat the work within a year.
If you manage a property or a home and want a hand with the washing side, our power washing services start with a site assessment. We also cover exterior cleaning services in Vaughan and the wider Greater Toronto Area.
Frequently Asked Questions
Can you seal a deck right after power washing?
Not right away. The wood needs about 48 to 72 hours to dry fully, and longer if it is cool, humid, or shaded. Test with a few drops of water first.
How many coats of sealer does a deck need?
Often one thin coat is enough, and some products call for a second. Always follow the label, because extra coats on wood that has stopped absorbing will peel.
Do you need to sand a deck before sealing it after power washing?
A light sanding helps. Washing can raise the grain, and a quick pass with a sanding pad smooths it so the sealer goes on evenly. Remove all dust afterward.
What temperature is best for sealing a deck?
Most products call for about 10 degrees Celsius or warmer, with no rain for about 24 hours. Check the label, since some products also set a maximum temperature.
How long should you stay off a deck after sealing it when planning power washing in Vaughan?
Many products allow light foot traffic after about 24 to 48 hours, but full cure takes longer. Wait longer before putting furniture back, and follow the label.